
Add staff and manage permissions
Staff in Monstro X are managed per location. You create custom roles with selectable permissions, then invite staff members and assign them a role during the invite. Each staff member sees only the features their role allows.
Before you start
You must be signed in to the Monstro X dashboard.
Staff and roles are scoped to one location. Open the location you want to manage before adding staff or changing roles.
Your account needs the add role permission to create roles and the add member permission to invite staff. Without these permissions, the platform shows Insufficient permissions when you try to save.
Create a role
Open the location you want to manage.
Go to the location Roles page. The page shows the subtitle Manage roles and permissions for your location.
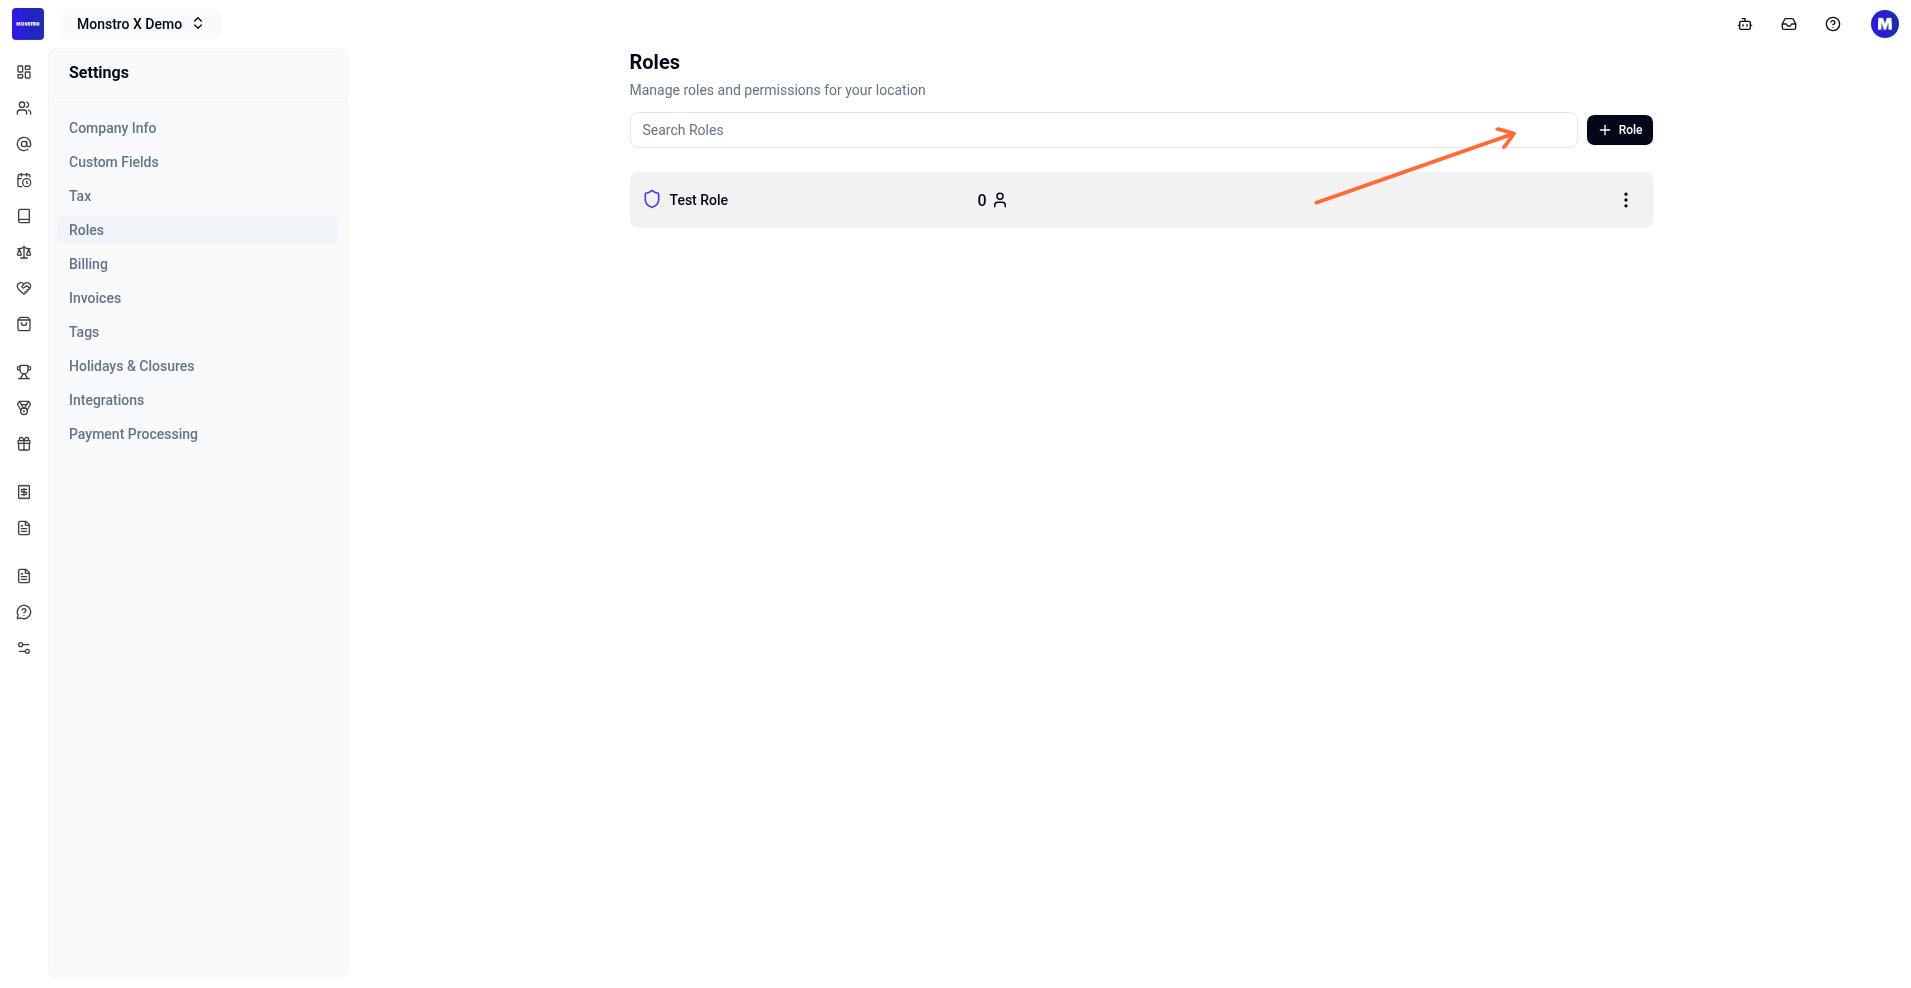
Click + Role.
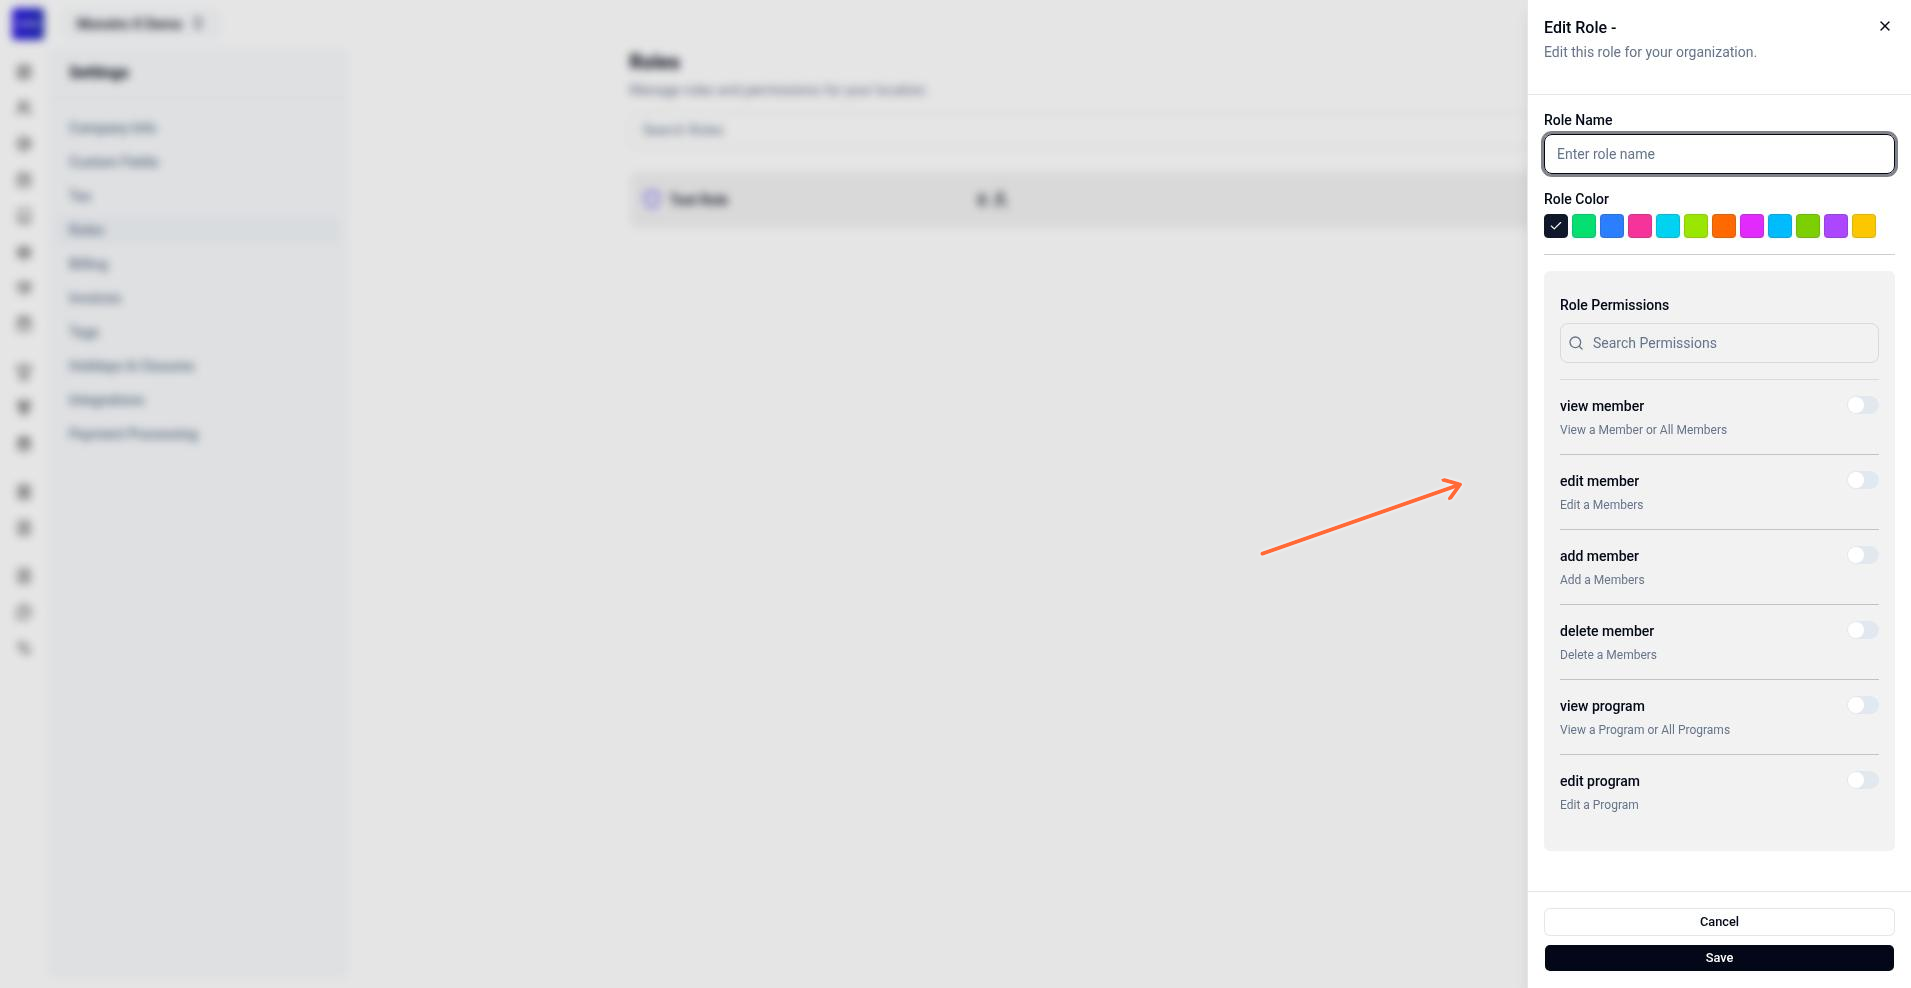
In the Edit Role sheet, enter a Role Name.
Choose a Role Color from the available options: red, green, blue, pink, cyan, lime, orange, fuchsia, sky, lemon, purple, or yellow.
Under Role Permissions, select the permissions you want to grant. Each permission appears with a switch and a description. You can use the Search Permissions field to filter the list.
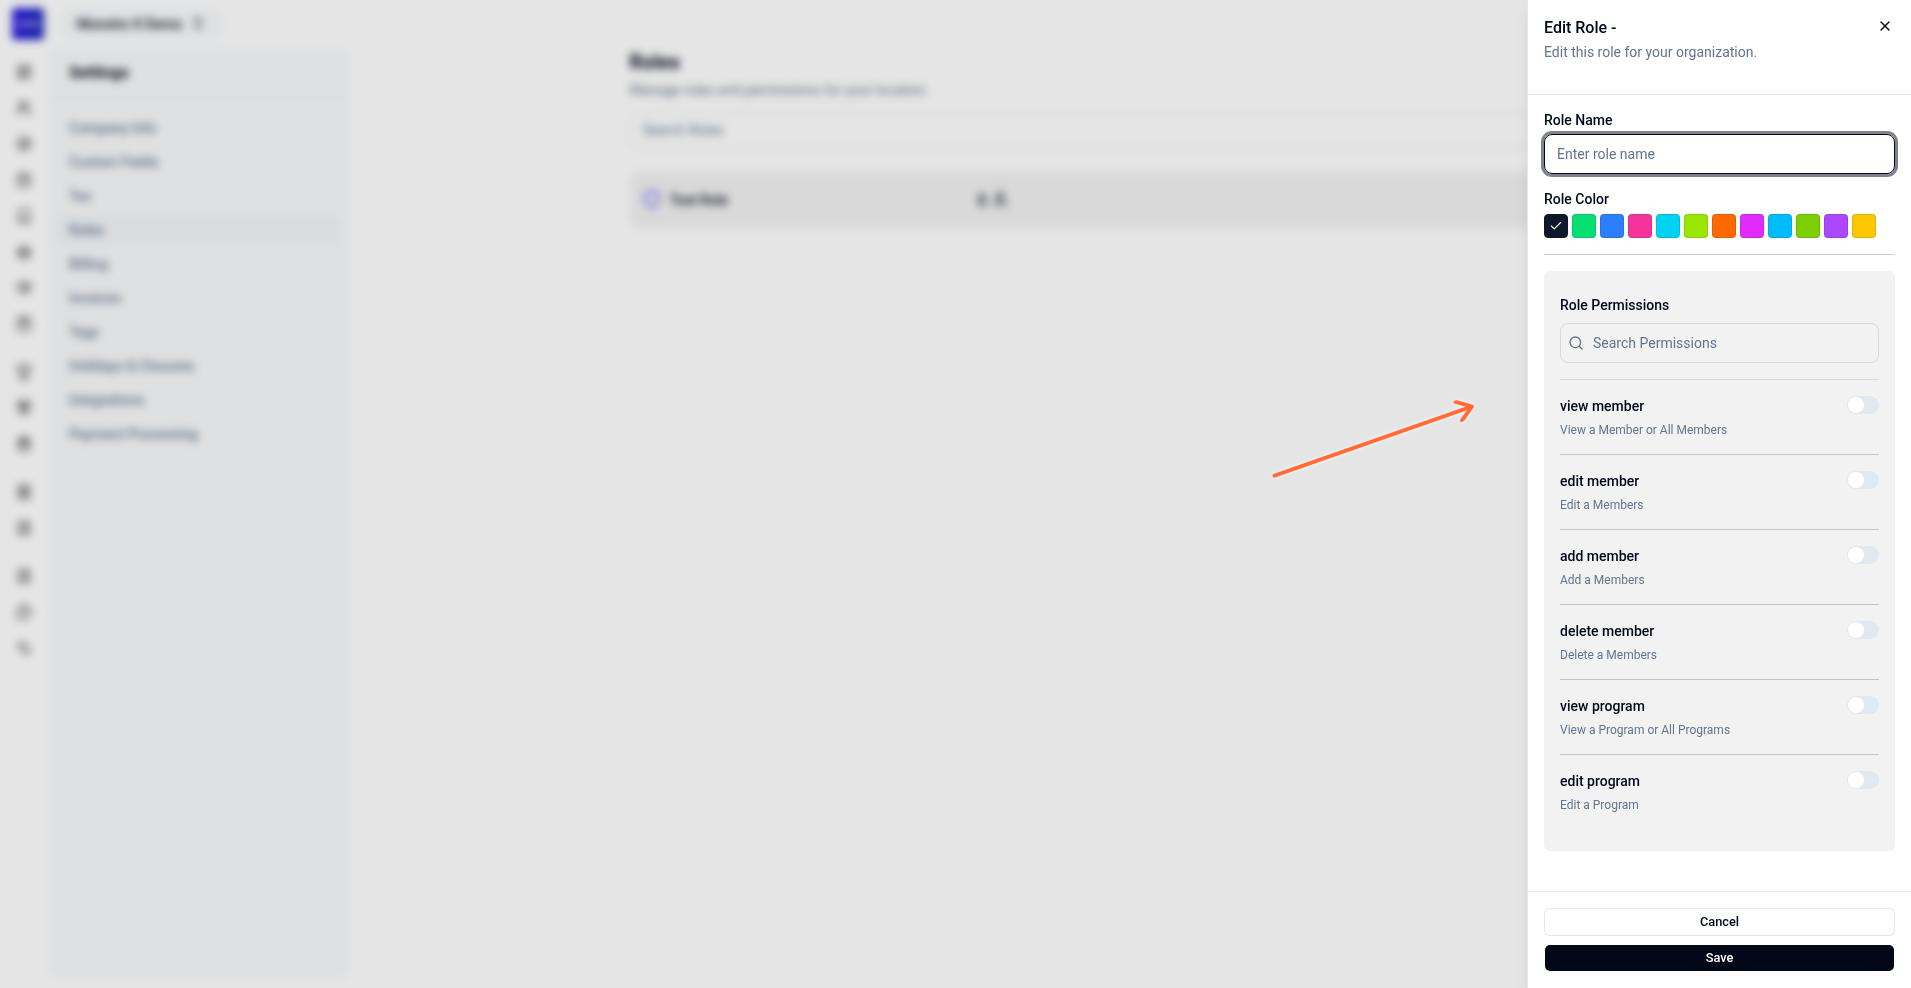
Click Save. The platform shows Role Updated when the role is saved.
Roles are created per location. If a location has no roles yet, the page shows No roles found and the message Add a role to the location to manage your staffs permissions.
Invite a staff member
Open the location you want to add the staff member to.
Go to the staff page for that location. If no staff have been added yet, the page shows No staffs found and Add a new staff to get started.
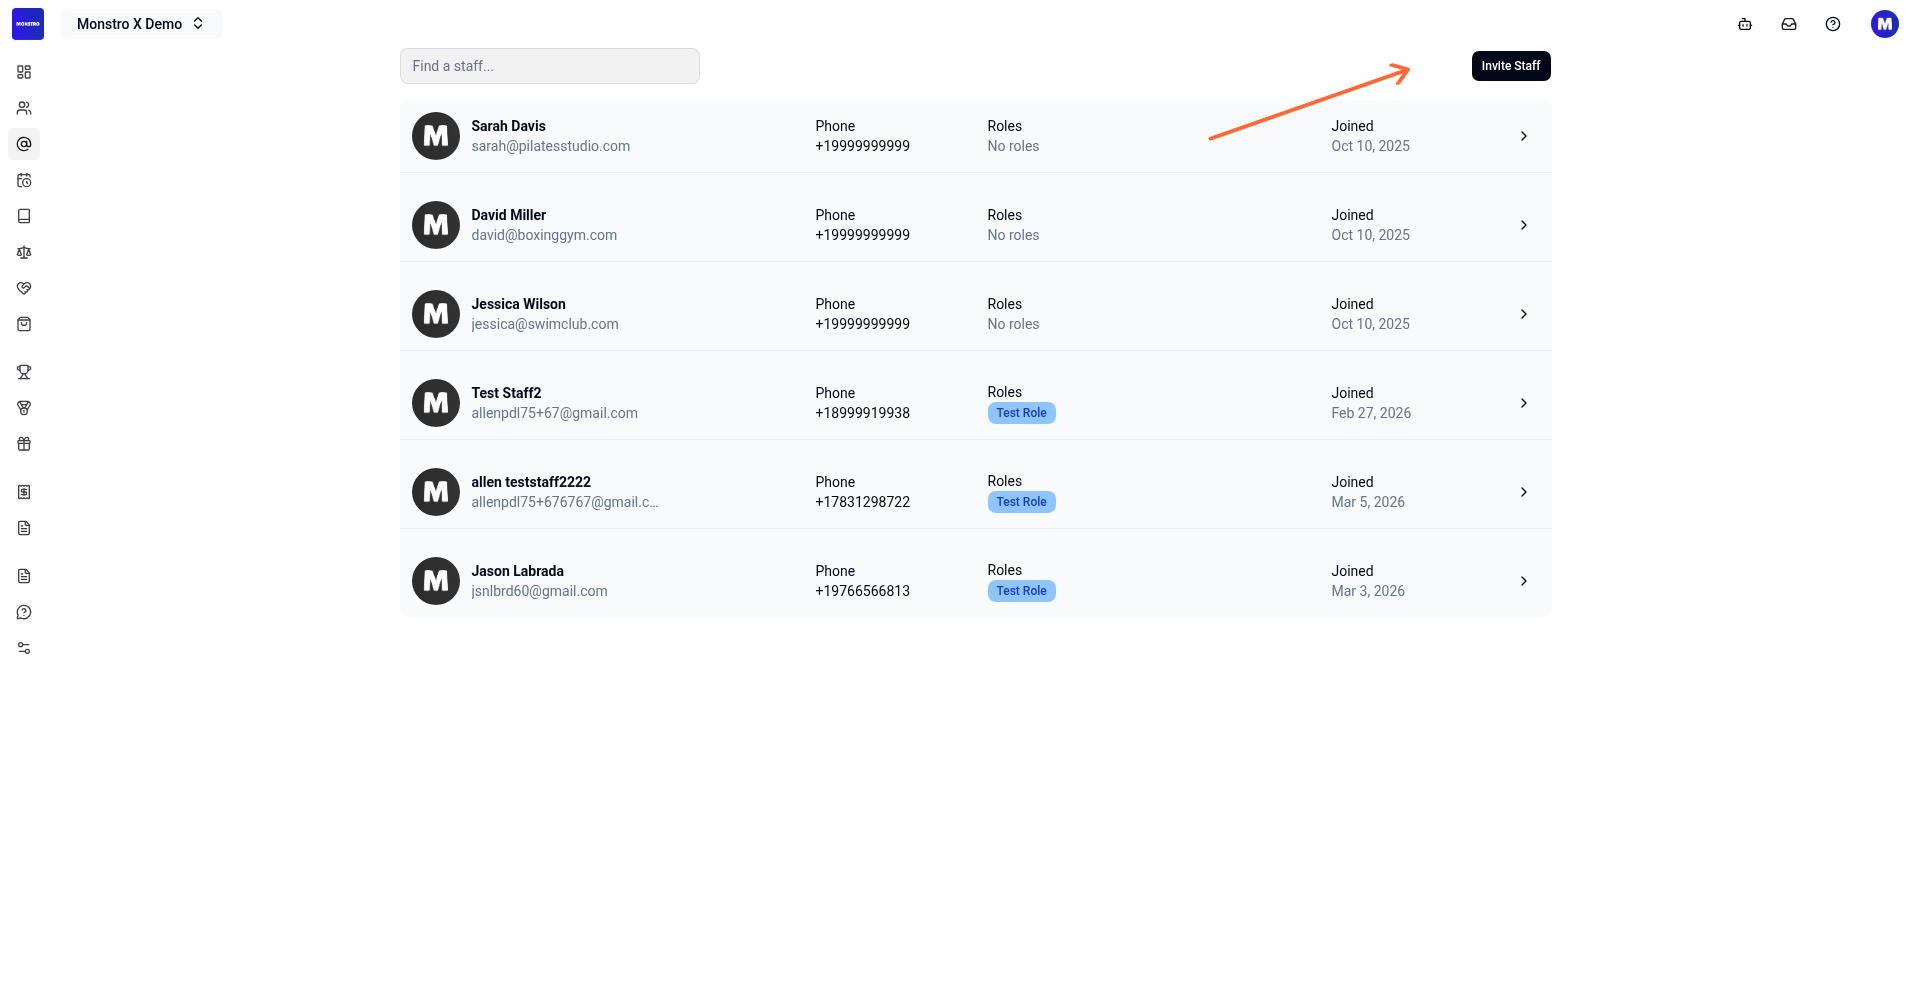
Click Invite Staff.
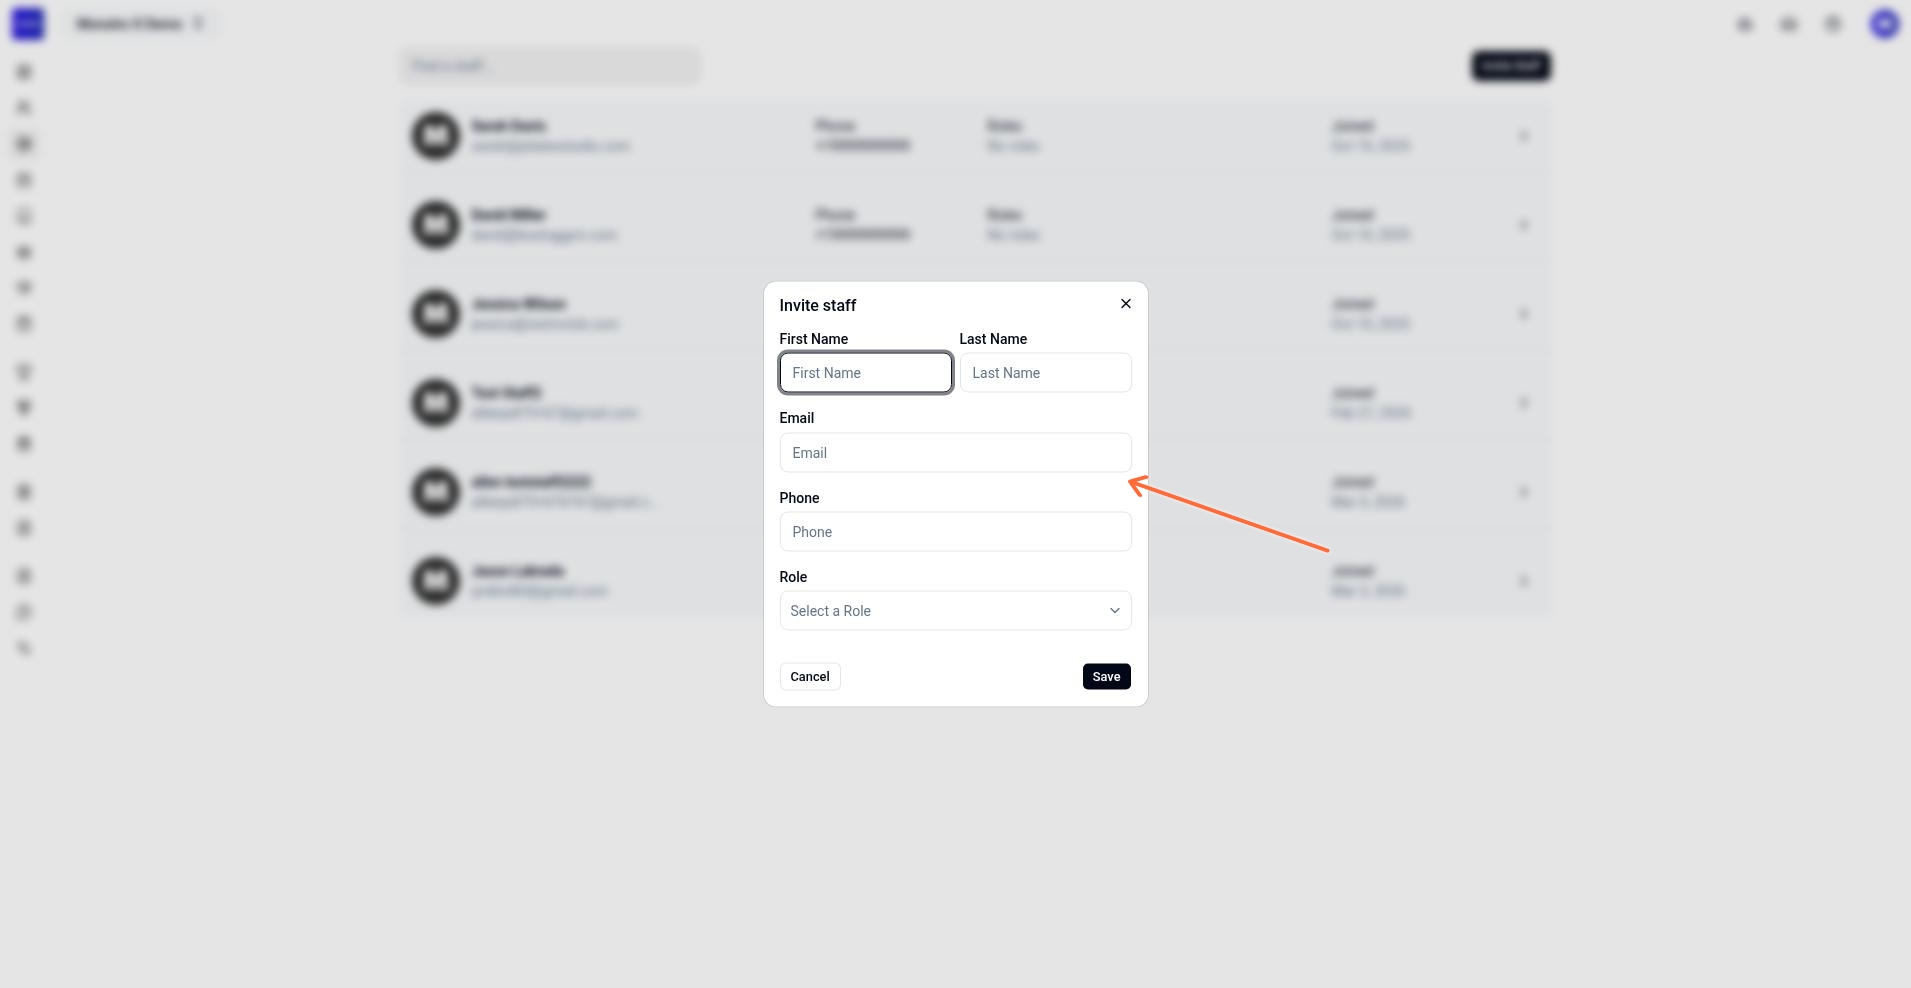
In the Invite staff dialog, fill out the required fields:
First Name
Last Name
Email
Phone
Role — select a role you created for this location. The platform validates that the role exists for the location and returns Role not found if it does not.
Click Save.
The dialog closes and the platform shows Staff Added. The invited staff member receives an email with a link to accept the invite.
Accepting an invite
The invite email contains a link to /join/staff/[id]. The invited person opens the link and follows the instructions to join the location.
If the invite is invalid or expired, the page shows:
This invite is invalid or expired. Please ask your location admin to send a new staff invite.
When that happens, the location admin should send a new invite from the staff page.
Edit or delete a role
Open the location Roles page.
Find the role you want to change. You can use the Search Roles field to filter the list.
Open the role. The Edit Role sheet opens with the current name, color, and permissions.
Update the fields and click Save.
To remove the role, click Delete. If the deletion fails, the platform shows Failed to delete role.
Field validation
The invite form blocks submission and shows inline errors when required fields are missing or invalid:
First name is required
Last name is required
Email is required
Invalid email
Phone number is required
Role is required
What to do next
Add a member to the same location.
Review the staff list and search for staff members using the Find a staff... field.
Assign subscriptions and schedules from the location dashboard.