
Create and publish a website post
Staff can create posts in the admin dashboard and publish them to the public blog. Each post gets a unique URL and can include a featured image and SEO metadata.
Create a new post
In the admin dashboard, select Posts.
Click New Post. The editor opens automatically.
Enter the post title in the title field at the top of the page.
In the editor, write the post content.
In the Post settings sidebar, fill in the Slug. The slug is used in the post URL and can only contain lowercase letters, numbers, and hyphens. Click generate to auto-create a slug from the title.
Optional: Add a Featured image by dragging and dropping or clicking the upload area. Supported formats are PNG, JPG, GIF, and WebP.
Optional: Expand SEO Settings and add a Meta title and Meta description.
The New Page button next to New Post creates a standalone page instead of a blog post. Pages work the same way but do not appear in the blog list.
Save and publish
Click Save to store the post as a draft.
When you are ready to publish, click Publish. The button changes to Unpublish once the post is live.
After publishing, the post appears on the public blog.
Access published posts
Go to the
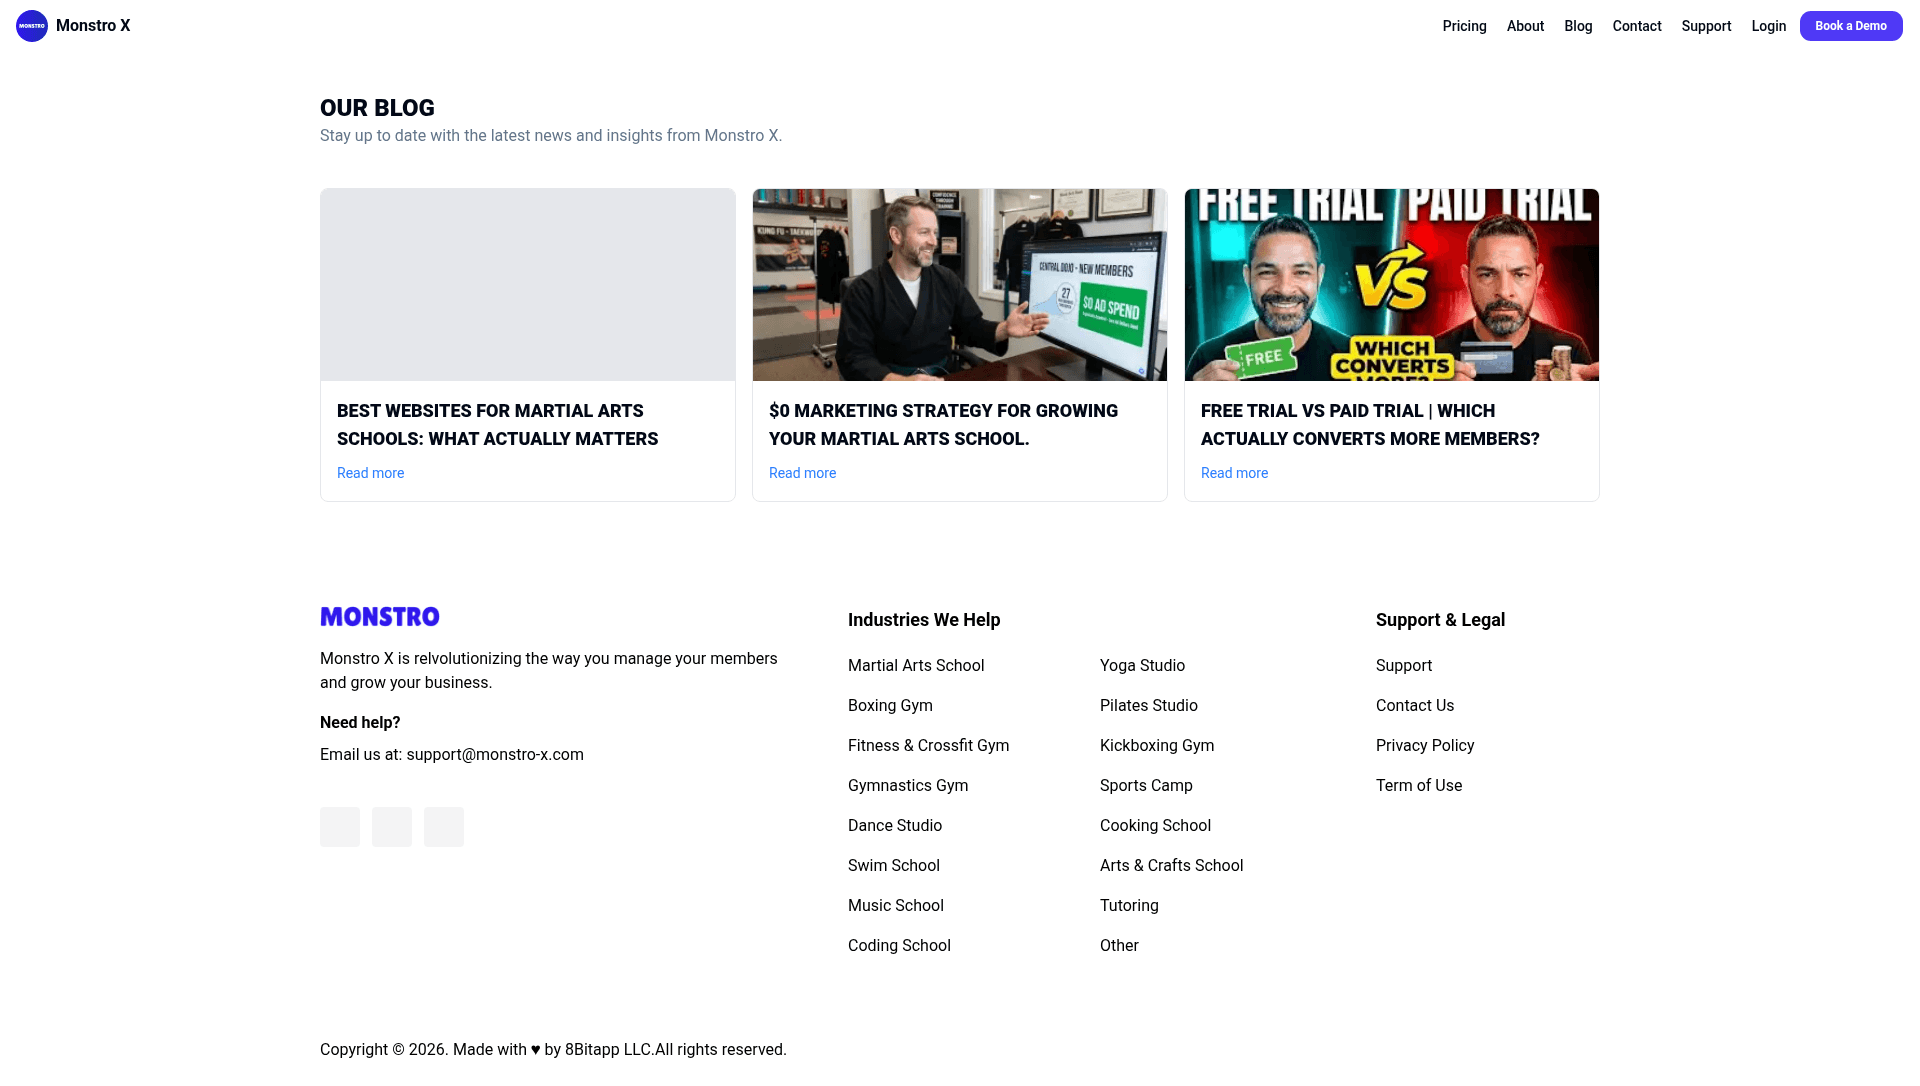
/blogpage on your public website. The blog shows all published posts with their featured images and titles.Click Read more on any post to open its full page.
Edit or unpublish a post
In the admin dashboard, select Posts.
Click the post title in the list to open the editor.
Make your changes and click Save.
To take the post offline, click Unpublish.
Validation errors will block saving if the post title or slug is missing. Make sure both fields are filled before saving.